In my previous post how to setup DHT11 with Raspberry PI, I promised that I will post another article once I finished a small using this sensor.
Before jumping to the full tutorial, let me explain how I end up creating this project. The story is I had a little issue in my apartment, my bedroom was getting cold every night, when I complained to the building manager, they claimed that everything is okay.
Recently I have decided to make small project to measure my apartment temperature. so I started looking for a module to achieve this.
So that’s how I end up doing this small project, I know that you can easily view the temperature if you run a python script on the raspberry pi, but that wasn’t convenient, at least for me. I wanted a better way and more flexible.
I wanted to keep track of the temperature from any device (phone, computer …), also to display the history in a nicer way rather than a plain text file.
What I’m trying to accomplish
- Create a real-time web dashboard where I can see the current temperature of my apartment
- A Graph history of temperature and humidity of the apartment.
Prerequisite
- Raspberry PI
- DHT11 sensor
- AWS service (free tier is enough)
Setup
Intro:
Since this article needs a lot of steps and configuration, I will divide it into two parts.
Well I can easily create a python scripts to check and keep track of values, but I want something more advanced. I need some kind of repository where I can store these values, a database would be a good solution; sending values to the database every sec or more. However a database alone would not be enough, in case you want to create more advanced system. in this scenario it’s better to use MQTT broker, to receive data from the sensor also you can make requests to the sensor asking for data.
By the way MQTT is a lightwight messaging protocol, it s good for use case to minimize network bandwith and control iOT devices. in our case the sensor would be like an iOT device; sending data to the MQTT broker and receiving requests asking for new data.
There are many MQTT brokers in the market the most common open source MQTT broker is Mosquitto, I have personally used it before in other project, however I will not use this tutorial instead I will use AWS iOT service.
The reason why I have chosen AWS iOT for simplicity purpose and less hassle, also I m planning to use other AWS services, so I want to keep everything in one place.
AWS iOT Setup
I assume you already have an AWS account, you can easily sing up for an account and get 12 month of free tier services. Please go to this link, and Sign in if you need to.
We need mainly 4 steps to setup AWS iOT platform and make ready receiving data.
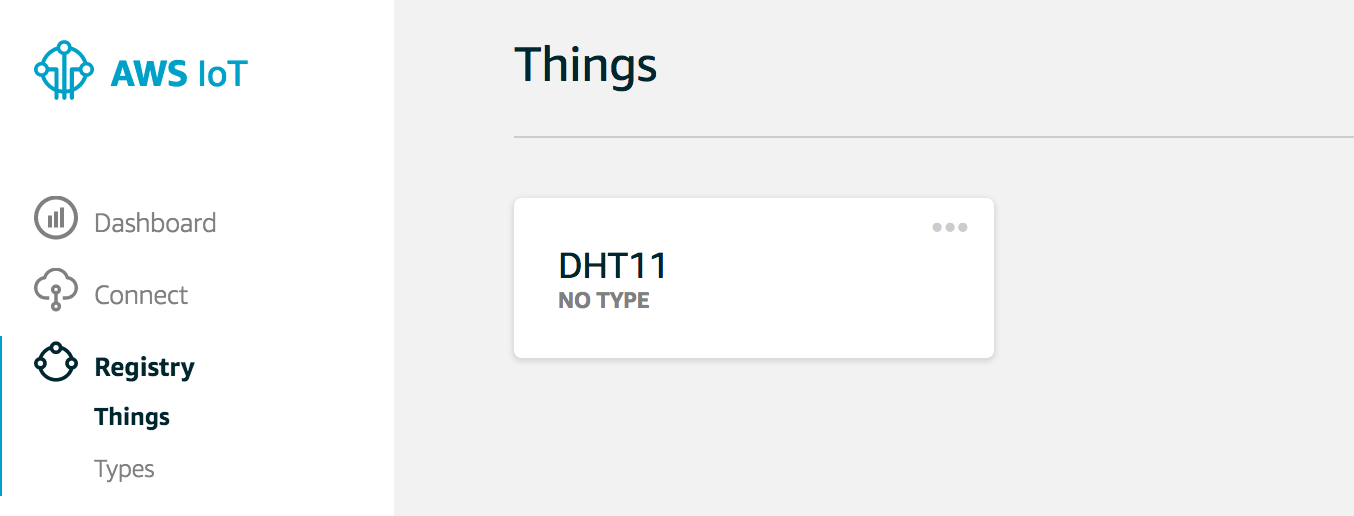
1. Register a device (Thing in AWS terminology)
- In the left panel click on Registry
- Then choose register a thing, give it a name and hit Next.
- Regarding policy keep the default configuration for now.
- If you are prompt to download a sdk. download the python sdk
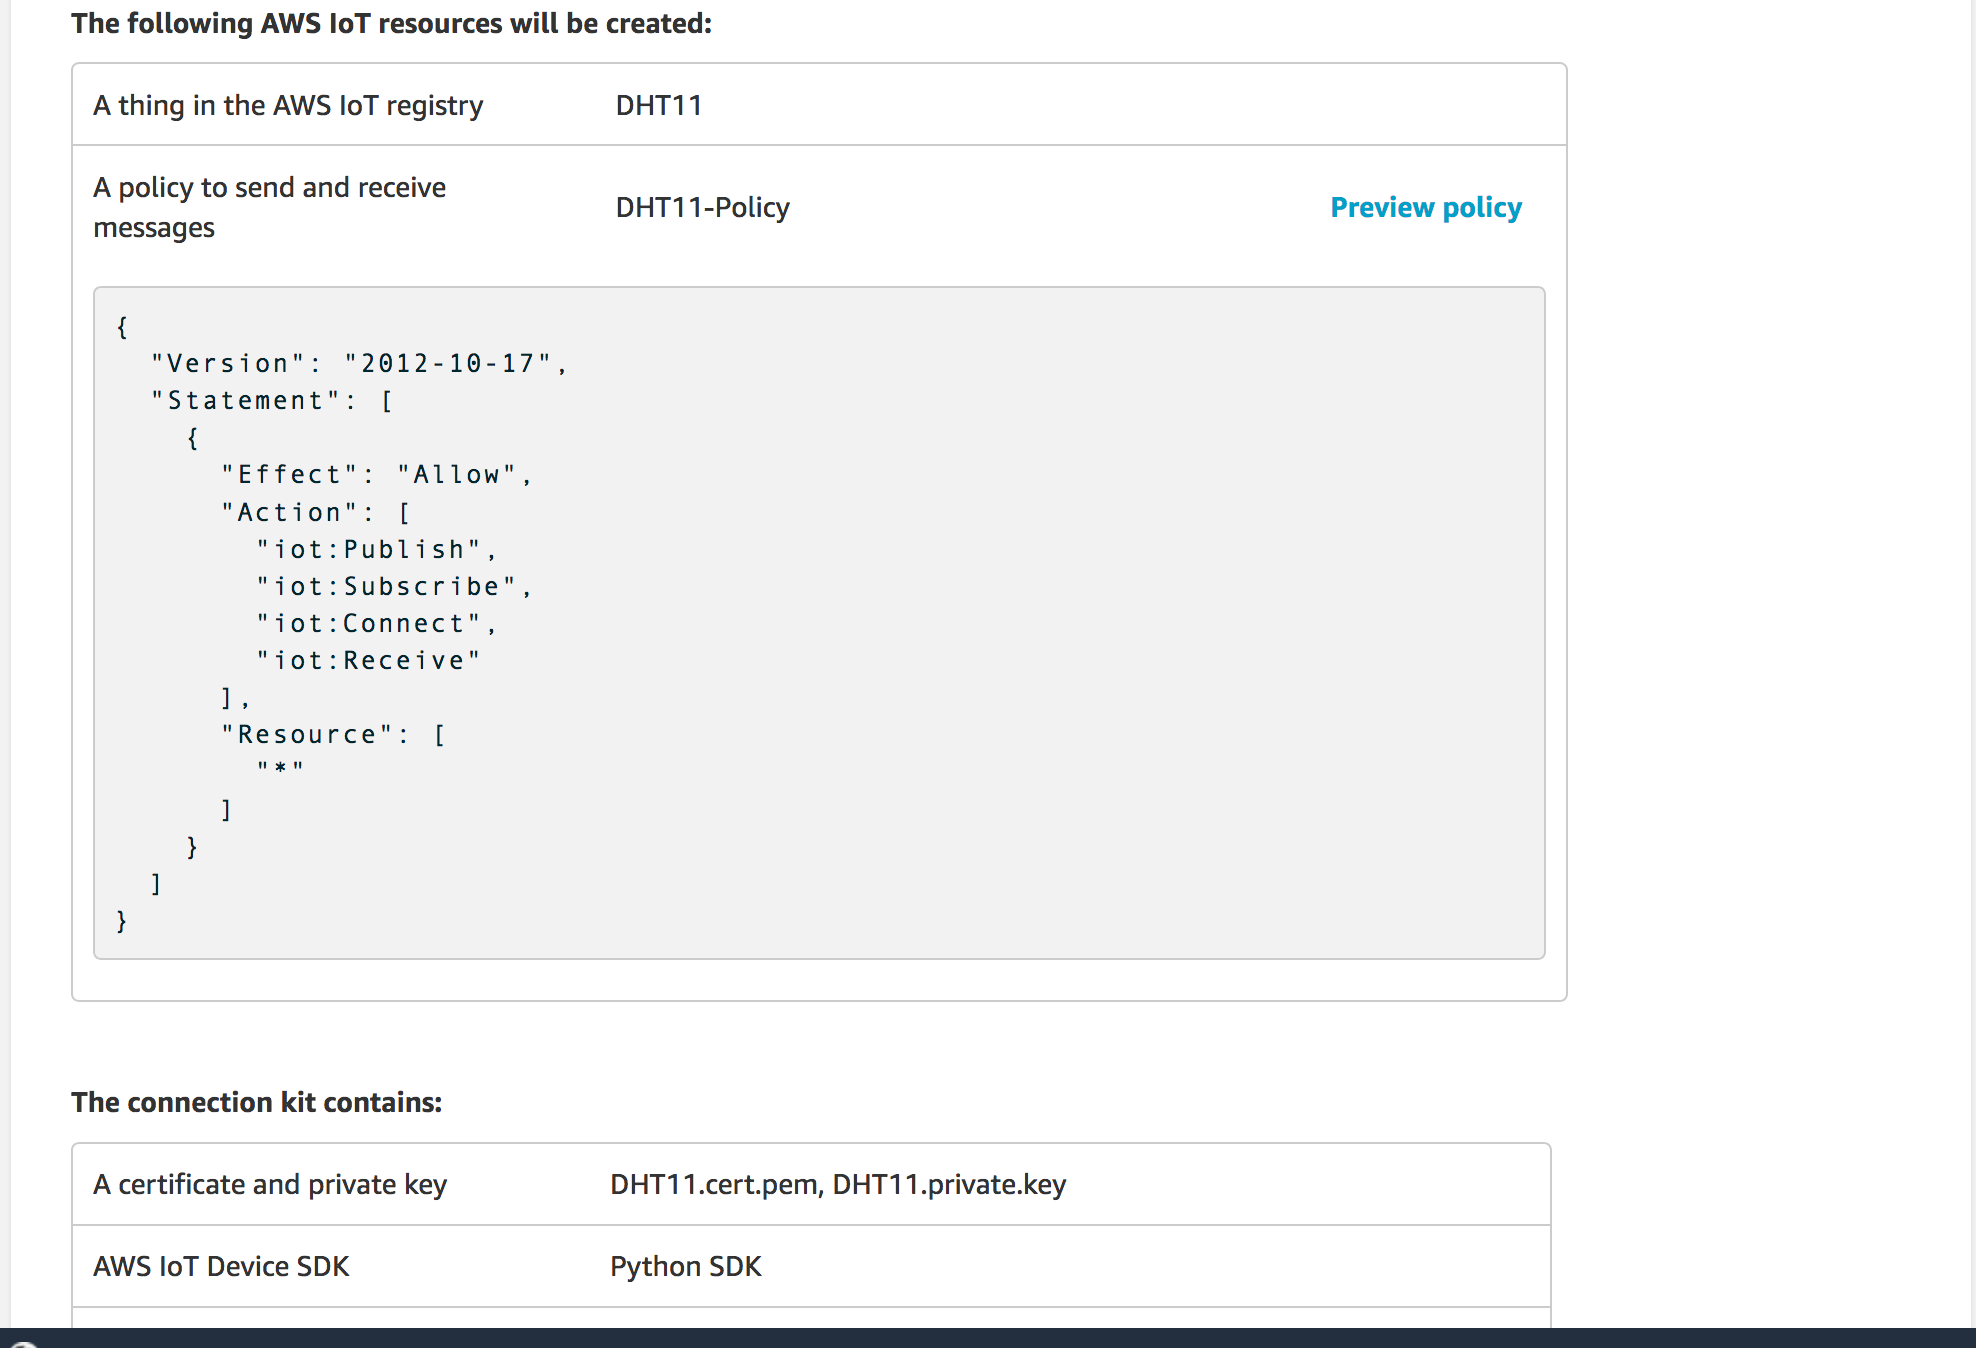
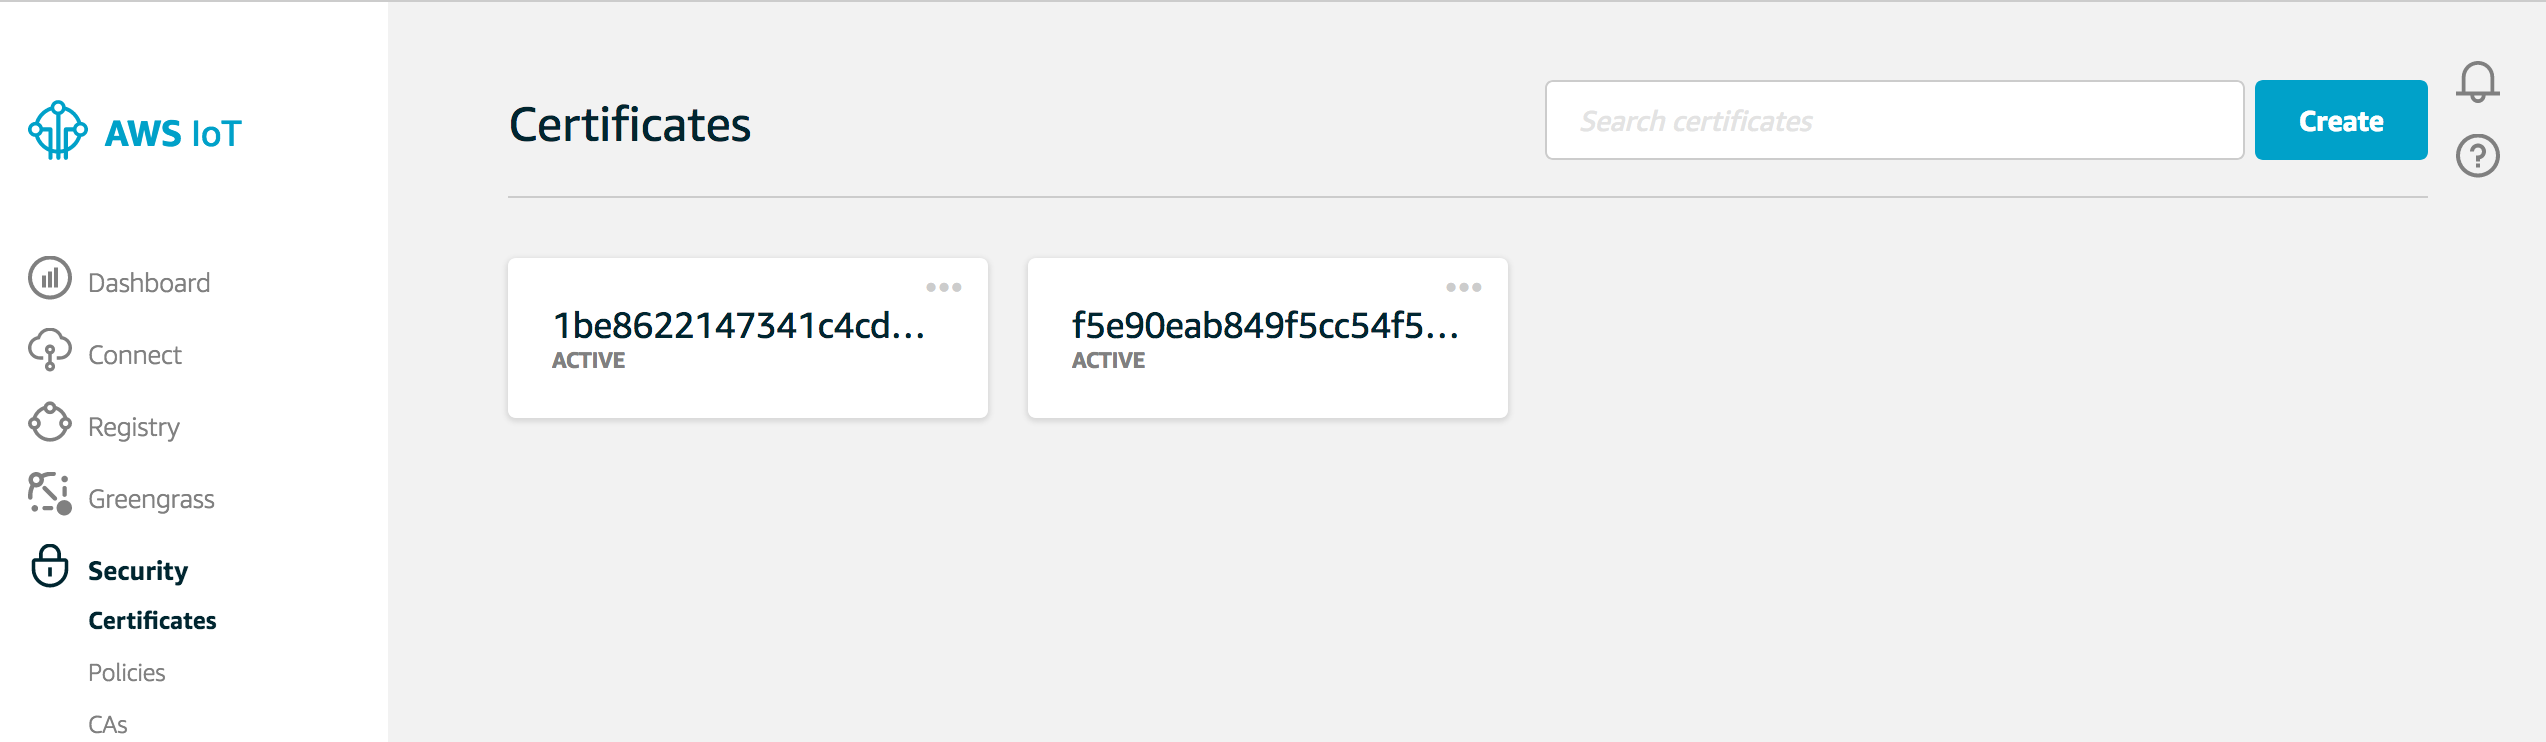
2. Manage Device certificate
After you finish creating your thing as shown below, let procced connecting our thing (sensor) to the AWS iOT.
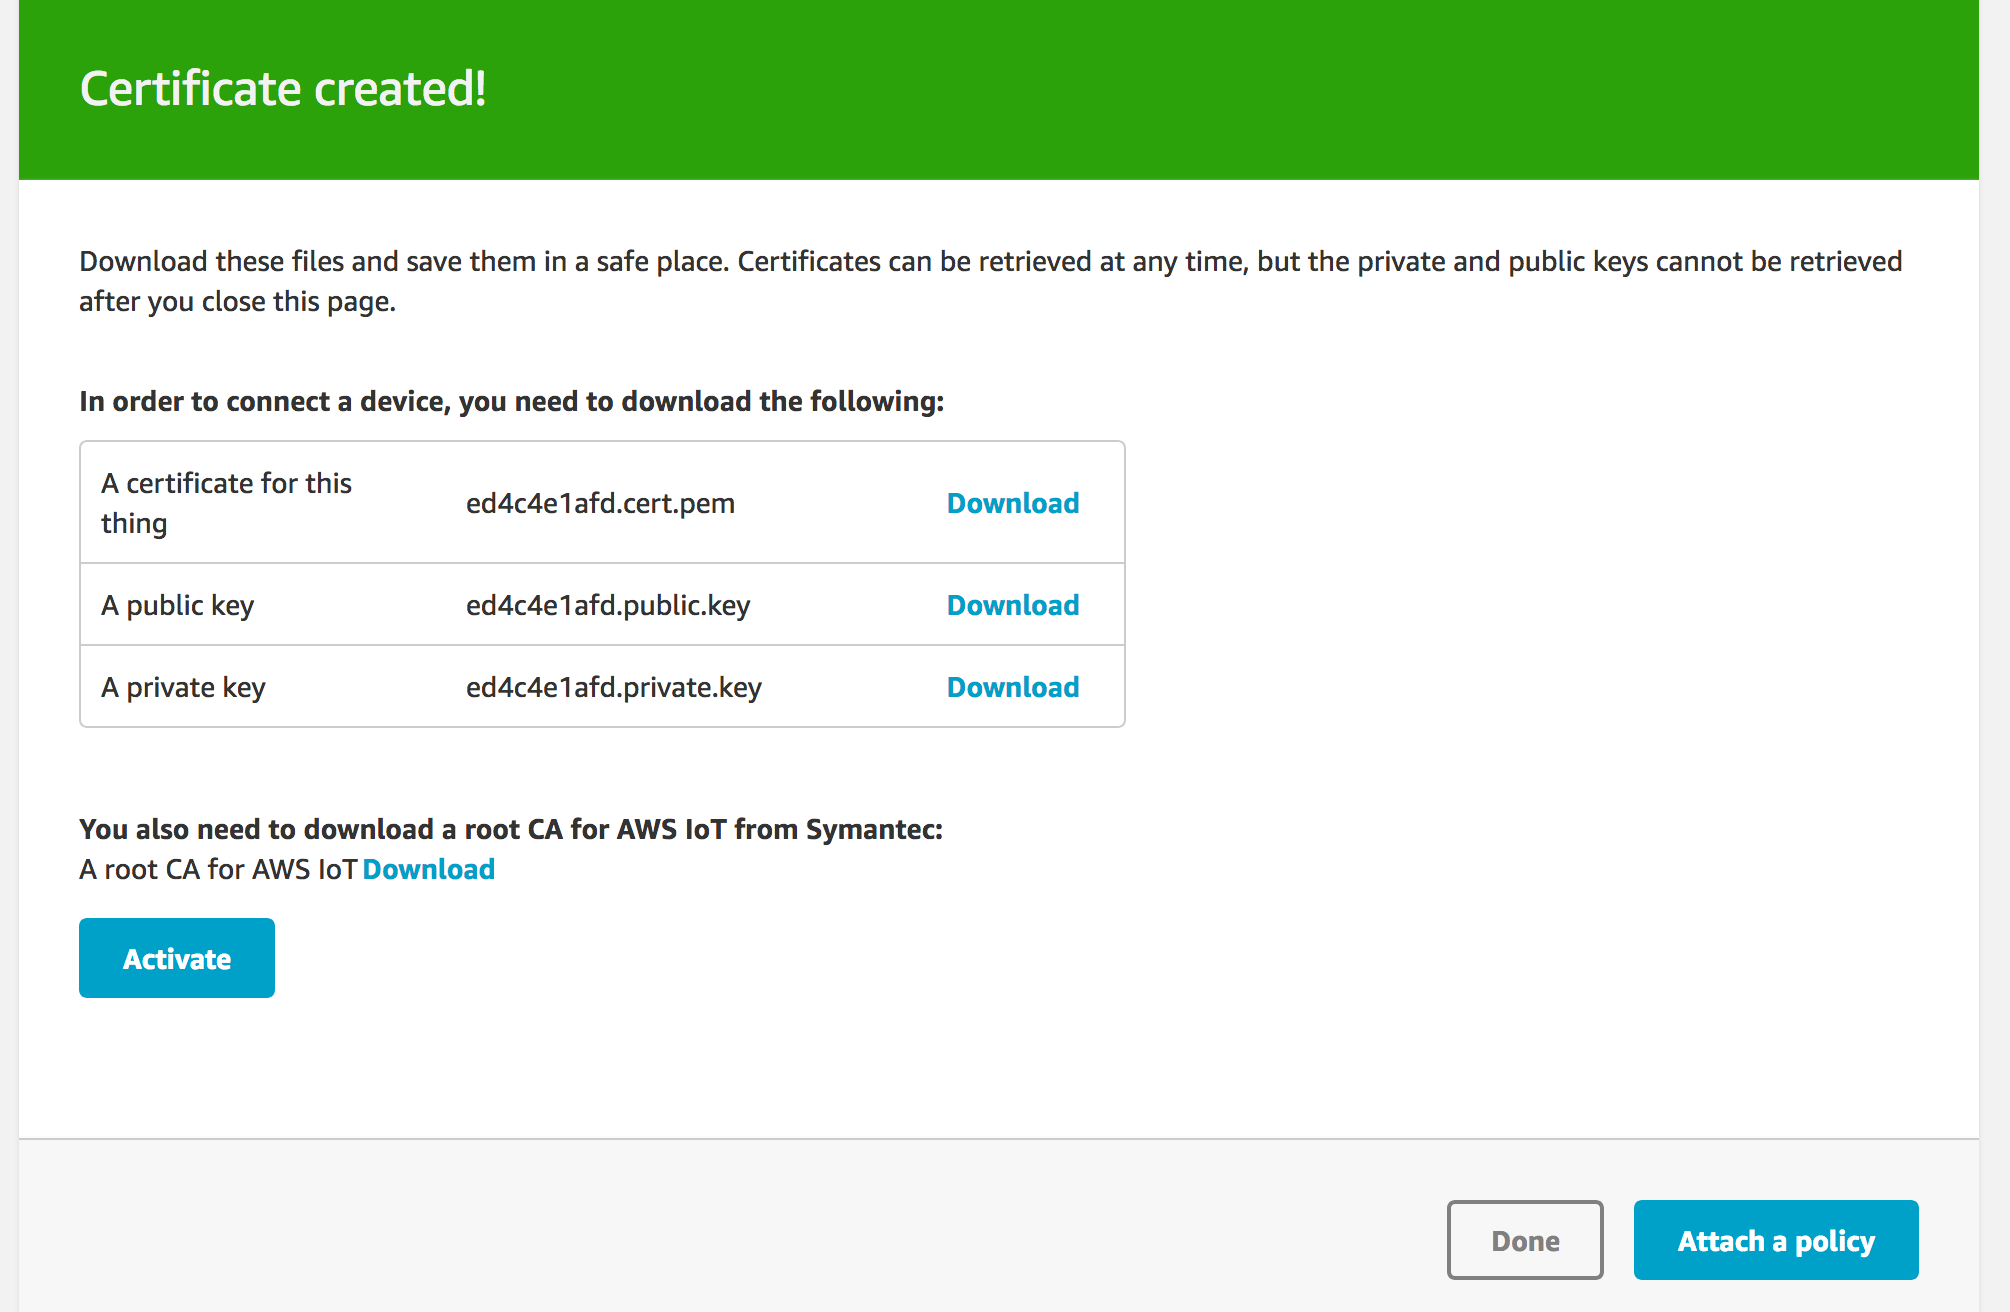
The most important thing from the registration step is the certificate, without the certificates you cannot communicate with aws iOT broker. In case you download your certificates you are ready to go, In case you dindn’t, don’t worry you can still create new one and attach it to your thing.
Go to certificate on the left panel and click on create, as you can see I already have certificate created and active. after creating a new one don’t forget to attach it to your device but editing the policy.
3. connect to AWS iOT broker
- Now you need to log in to your raspberry pi and download the python sdk as well as the certificates.
I will explain the rest of the of the tutorial in the next chapter

Comments